Knowledge Base Article
How to Build Campaign Sales Forms
Every campaign has two public forms: a donation form for giving and a sales form for buying what the campaign sells. Public Form Design is where you decide how both look, what they say, and how you share them.
Open Public Form Design
- Go to Fundraising > Fundraising Campaigns.
- Open the campaign.
- In the Workspace Menu, choose Public Form Design.
The Public Campaign Form is also listed directly under Fundraising and under Our Public Interfaces, and campaign sales are listed at Campaign Sales List.
Share the two forms
The page opens with one share card for each form: Share The Public Donation Form and Share The Public Sales Form. They are different links, so check which one you are sending.
- Public Link is a short link to the form. Copy puts it on your clipboard for an email, a post or your website.
- Under the link, Argenta counts how many times it has been opened, and when it was last opened.
- Turn this short link off stops the link working. Anyone who uses it, including from a printed QR code, sees a page saying the link isn't working. Turn it back on from the same place.
- The QR code points at the same link. Download PNG is right for everyday printing, and Download SVG for large signs like banners and posters. Scan it yourself before it goes to print.
Below the cards, Public Sales Form (On or Off) decides whether the sales form is open to the public at all.
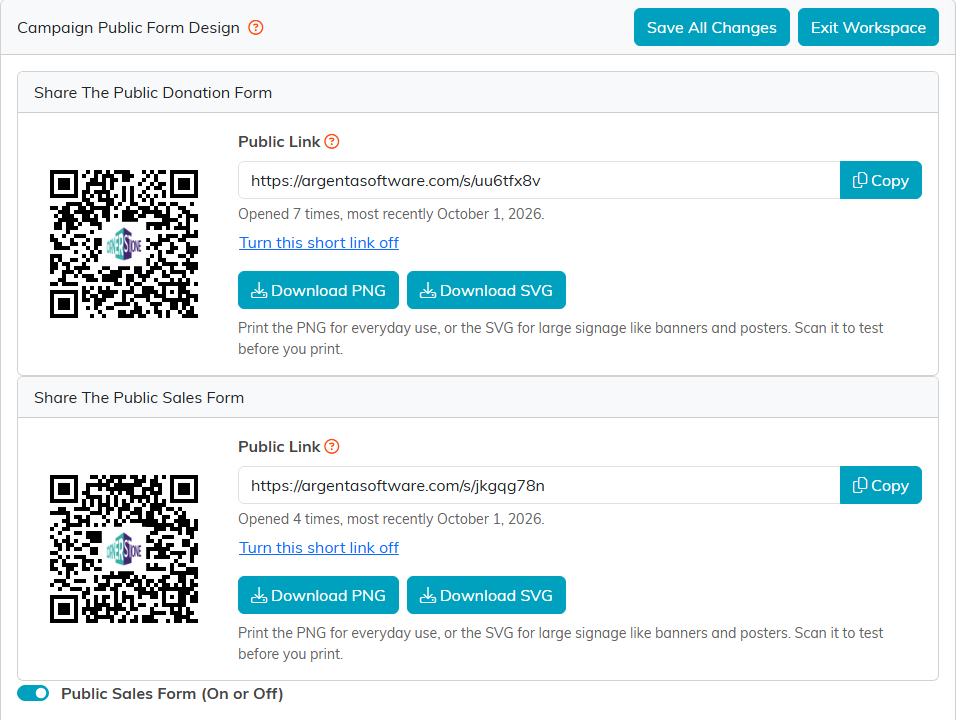
One share card per form, and the switch that opens the sales form.
The rest of the page is built from collapsible sections, so you can close the parts you are not working on. Fundraising Leaderboard and Peer Fundraising start closed, and the other three start open.
Banner Image
The picture across the top of both forms. The section is your team's own image library, so anything you have already uploaded is here to reuse, sorted into folders.
- Pick a folder on the left, or click Upload to add a new picture. A wide picture works best.
- Click the picture you want.
- Click Save As Banner Image.
The banner in use shows under Current Banner on the right. Remove Banner Image takes it off both forms.
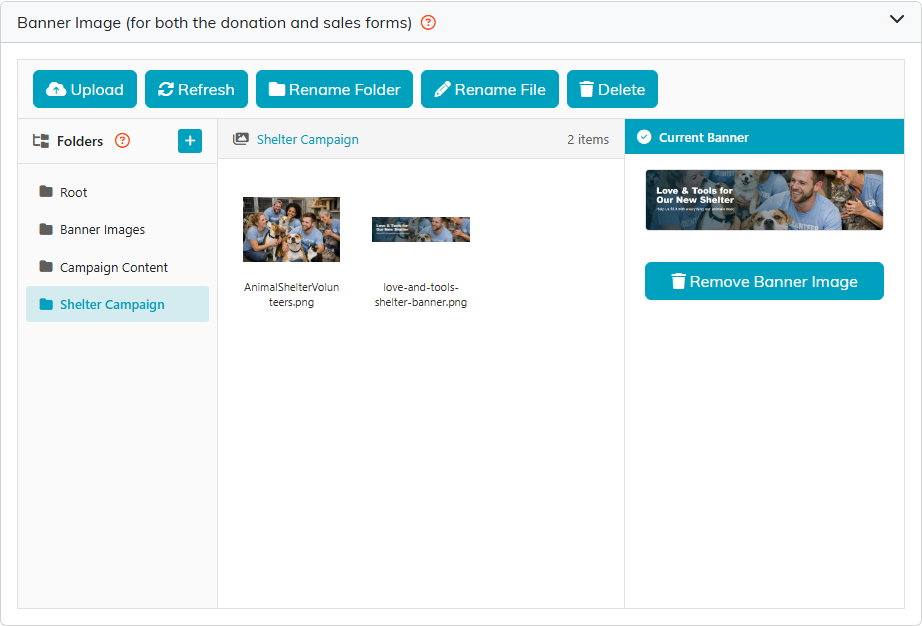
The image library, with the campaign's current banner on the right.
Form Settings
- Form Title is the heading of both forms, but only when Include Title On Public Form is off on Campaign Details. While that box is ticked, the forms show the campaign's own title instead.
- Choose Form Colors for the Campaign Sales Form sets the sales form's headline, icon and button colors. Type a color code or use the picker beside it. The donation form uses the colors set in your donation form settings.
- Mailing Address, City, State, Zip and Phone Number(s) decide what the sales form asks a buyer for.
- Show Progress on Public Form(s) puts the fundraising progress bar on the forms. The same bar shows here, so you can see what donors will see.
- Show Item Images on the Public Sales Form shows each item's picture on the sales form. See below.
Click Save Settings to save this section.
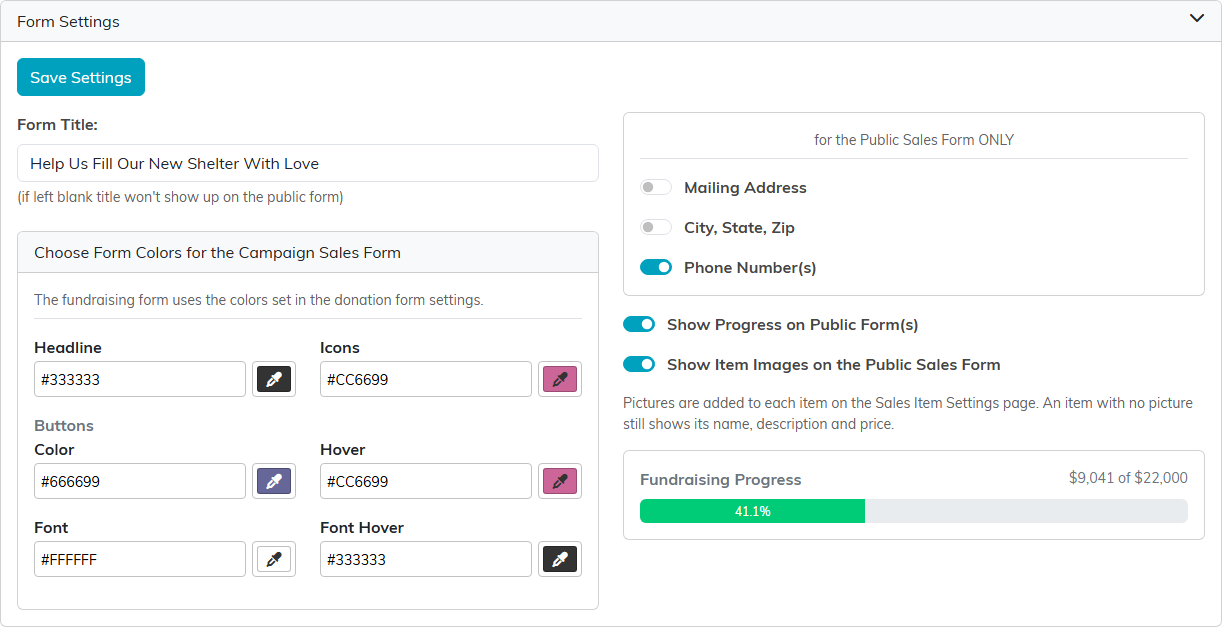
The switches on the right apply to the sales form only.
Fundraising Leaderboard
Turn on Enable the leaderboard on this campaign and the donation form lets donors tag the company or team they are giving under. A public leaderboard then ranks the companies by total raised. Turn on Let visitors click a company to see its individual donors as well, and a visitor can open a company to see its gifts. Donors can still give anonymously, and the leaderboard only ever shows donation data, never the rest of your records.
The section shows the leaderboard's public link. Click Save Leaderboard Settings to save.
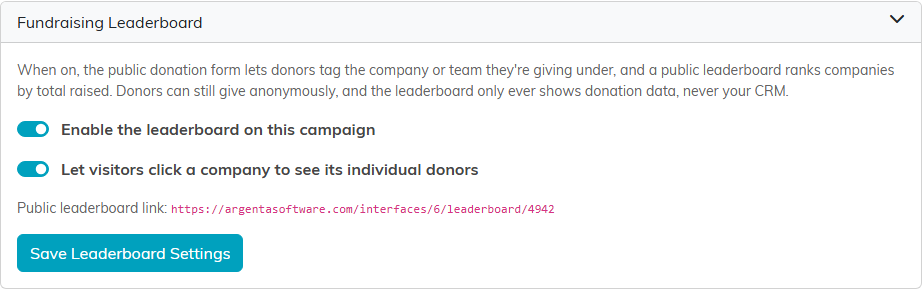
Only turn the leaderboard on if you want the standings public. It changes how people give.
Peer Fundraising
Turn on Accept new supporter signups on this campaign and supporters can sign up to raise money for you. Each one gets their own public page, link and goal, and anything given through their link is credited to them. They do not need an Argenta login. Click Save Peer Fundraising Settings to save.
Every new page appears under Your Fundraisers and stays hidden until you approve it, so nothing goes out under your name without you seeing it first. Turning signups off stops new people joining, but pages already out there keep working; to stop those too, use Take All Pages Down.
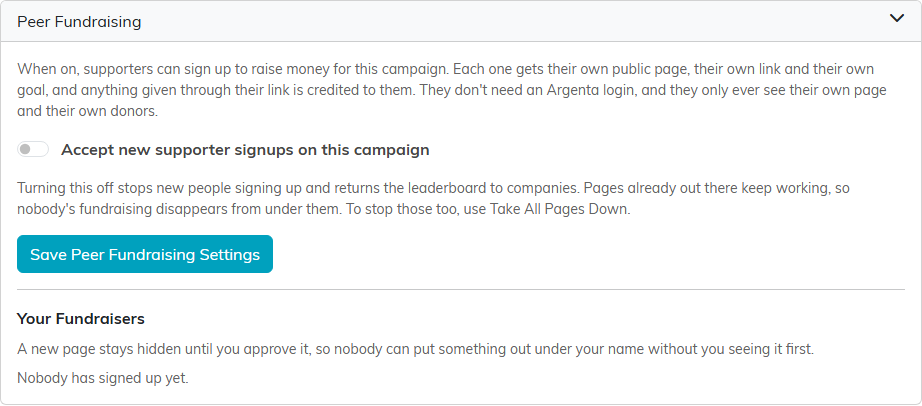
Peer fundraising is off on this campaign, so nobody has signed up.
Form Content
The words and pictures visitors read on both forms. It is a full editor, so you can format text, add pictures and links, and lay content out in a table. This is where you make the ask.
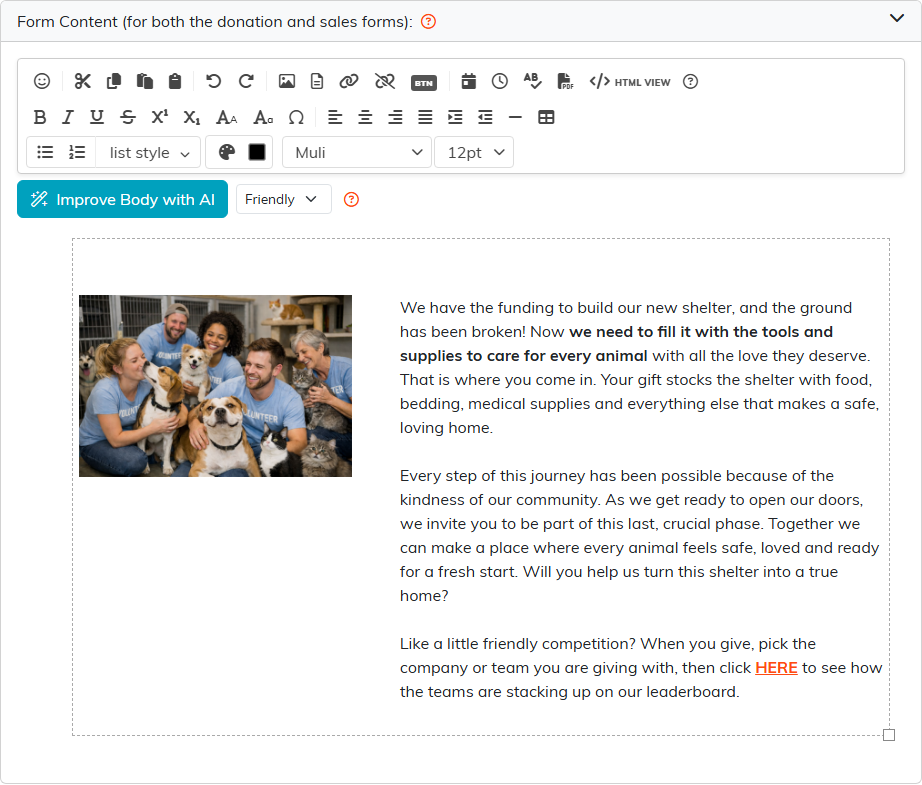
Write the ask here. It appears on both forms.
When you are done, click Save All Changes at the top or bottom of the page. Exit Workspace takes you back to your campaign list.
See it as a visitor
Open the donation form's public link to check your work. The banner, the progress bar and your Form Content all come from this page.
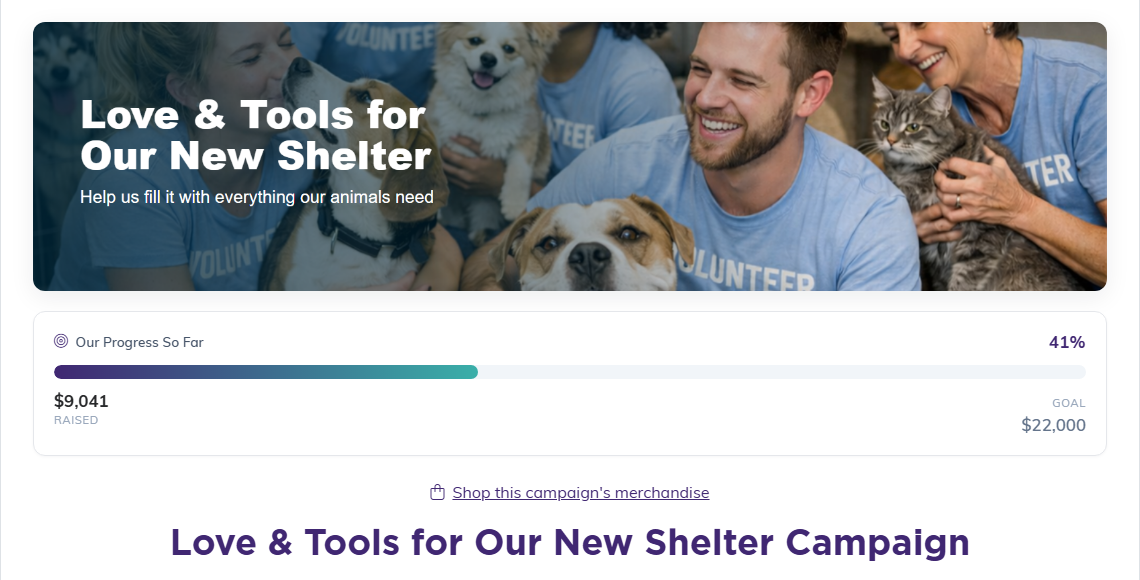
The public donation form, as a visitor sees it.
Showing a Picture Beside Each Item
The sales form can show a picture next to every item you are selling. Pictures are optional, and setting them up takes two steps in two different places.
- In the campaign's Workspace Menu, go to Sales Item Settings. Each item has a row of round buttons in its top right corner. Click the picture button, Item Image, and choose the picture for that item. Repeat for each item you want to show.
- Go back to Public Form Design, open Form Settings, and turn on Show Item Images on the Public Sales Form. Click Save Settings.

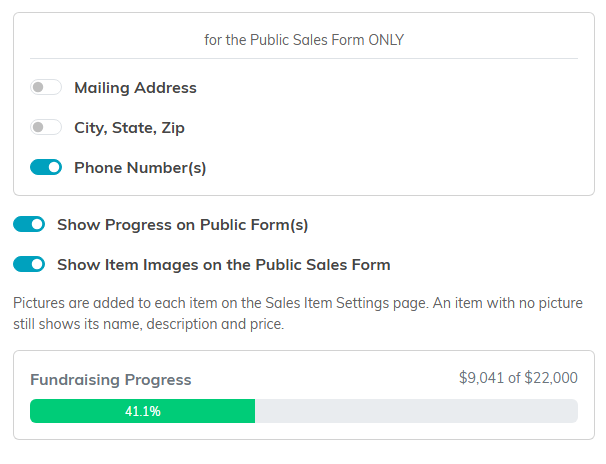
The switch stays off until you turn it on, so a campaign you built earlier looks exactly as it did. An item with no picture still shows its name, description, and price, so you can give pictures to some items and not others. On the public form a buyer can click or tap a picture to see it full size, and close it again with Close, the X, Escape, or a click outside the picture.
If you start a new campaign with Copy & Add New, the Show Item Images on the Public Sales Form setting comes across with the rest of the form design. The sale items themselves do not come across, so add the items and choose their pictures on the new campaign before you share it.
If you add pictures while the switch is still off, the Sales Item Settings page tells you so and links you straight to the page that carries the switch.
Telling Buyers Where to Collect
If buyers collect what they buy, give them the details on the campaign's Sales Item Settings page, in the fields below Skip ecommerce Payment & Allow Mail In Check: Pickup Date, Pickup Starts, Pickup Ends, Time Zone (typed, for example Pacific), Pickup Address, and Look For (something to spot when they arrive, such as a blue front door). Click Save Pickup Details. Save All Changes saves them too.
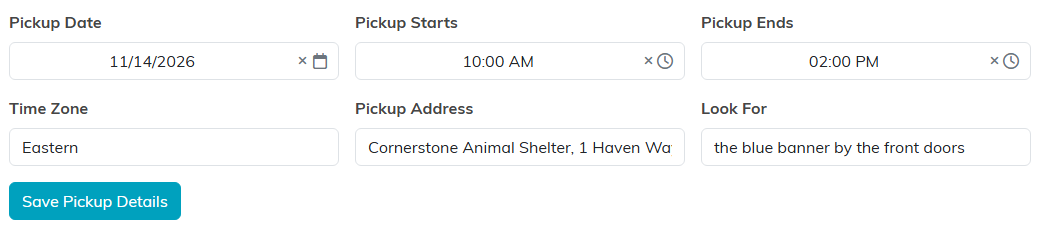
Every field is optional. Whatever you fill in goes on the buyer's receipt email under Pickup, and on the screen they see after paying, which shows the date, the time and the address (or the Look For text when there is no address). Leave them all empty, for goods you ship, and the receipt and that screen stay exactly as they were.
Best Practices
- Set the banner and wording before you share the link anywhere.
- Check the form on a phone, since that is where most people will open it.
For a tour of every page in the Campaign Workspace, see Overview, Working with Campaigns.