Knowledge Base Article
How to Build an Event Itinerary
The Event Itinerary is your run of show: every part of the event, from the planning walk-through to the last goodbye, each with its own date, time, place and description.
Open the itinerary
Open the event and click Event Itinerary in the Planning group of the workspace menu. Each item shows its title, location, description and category.
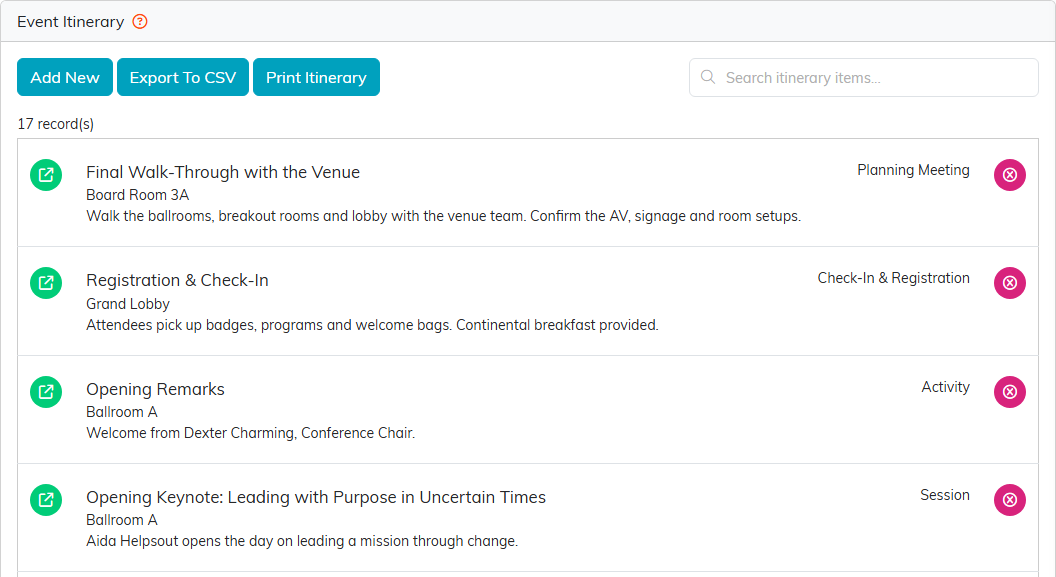
A conference day, starting with the venue walk-through two weeks before.
Add an item
- Click Add New.
- Enter the item's Event Itinerary Item Title/Name, Start Date and Start Time. All three are required.
- Click Add & Enter Details. Argenta creates the item and opens it so you can fill in the rest. Cancel & Exit leaves without adding anything.
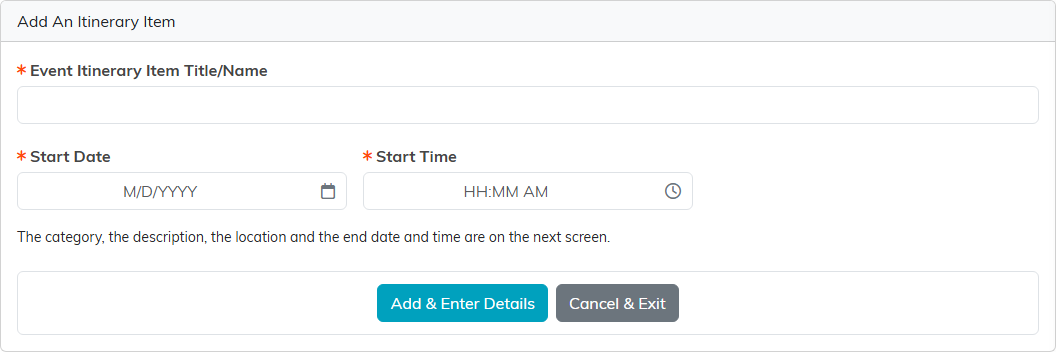
Three fields to start; the rest is on the next screen.
Fill in the details
On the item itself:
- Itinerary Category groups items, such as Session, Lunch or Activity. Categories come from your organization's own list; administrators see an orange plus to add one.
- End Date and End Time say when the item finishes.
- Description is what happens, and who leads it.
- Location for this Itinerary Item is the room or place, such as a ballroom or a breakout room.
Click Save All Changes, or Save All & Exit Record to save and go back. The Related Files and Itinerary Item Notes tabs keep files and notes with the item.
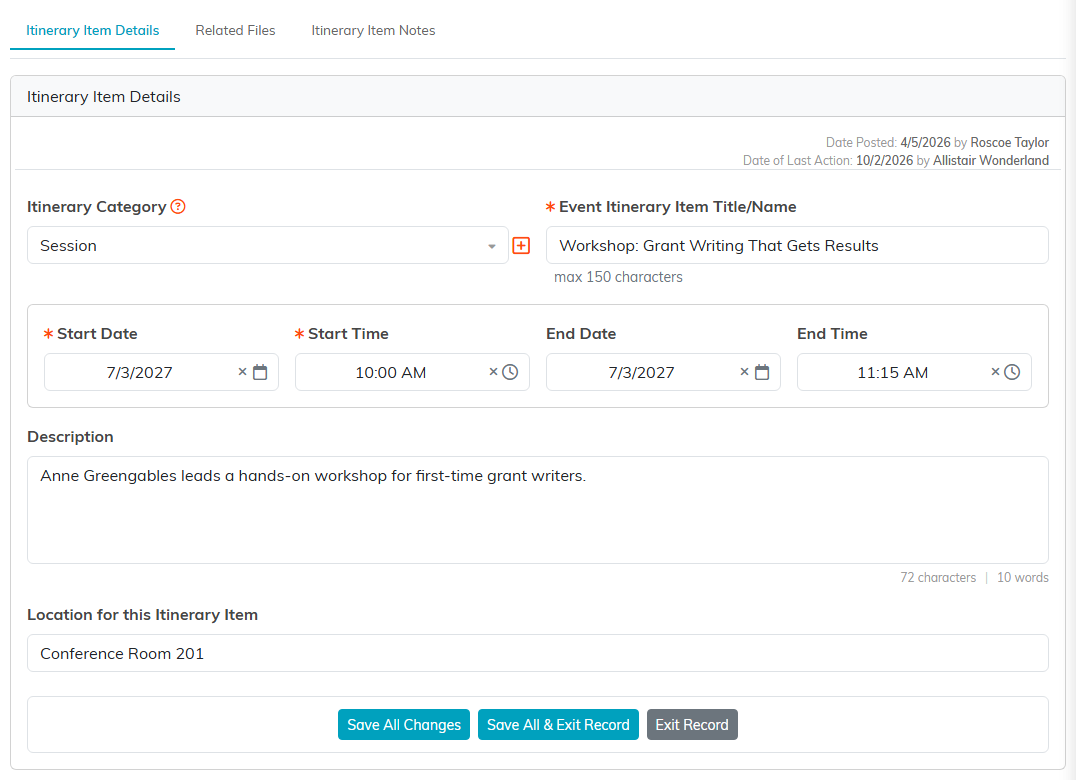
A morning workshop, its room and its leader.
Find, change or remove an item
Type in Search itinerary items to narrow the list. The green icon opens an item, and the pink icon deletes it after you confirm.

Everything about one part of the day, at a glance.
Share the itinerary
Print Itinerary makes a clean page of every item, with its dates, times, category and location, ready to print or pass to your team and the venue. Export To CSV gives you the same list as a spreadsheet.
For a map of the whole event workspace, see Overview Part 1 of the Argenta Event Management System.